How to use
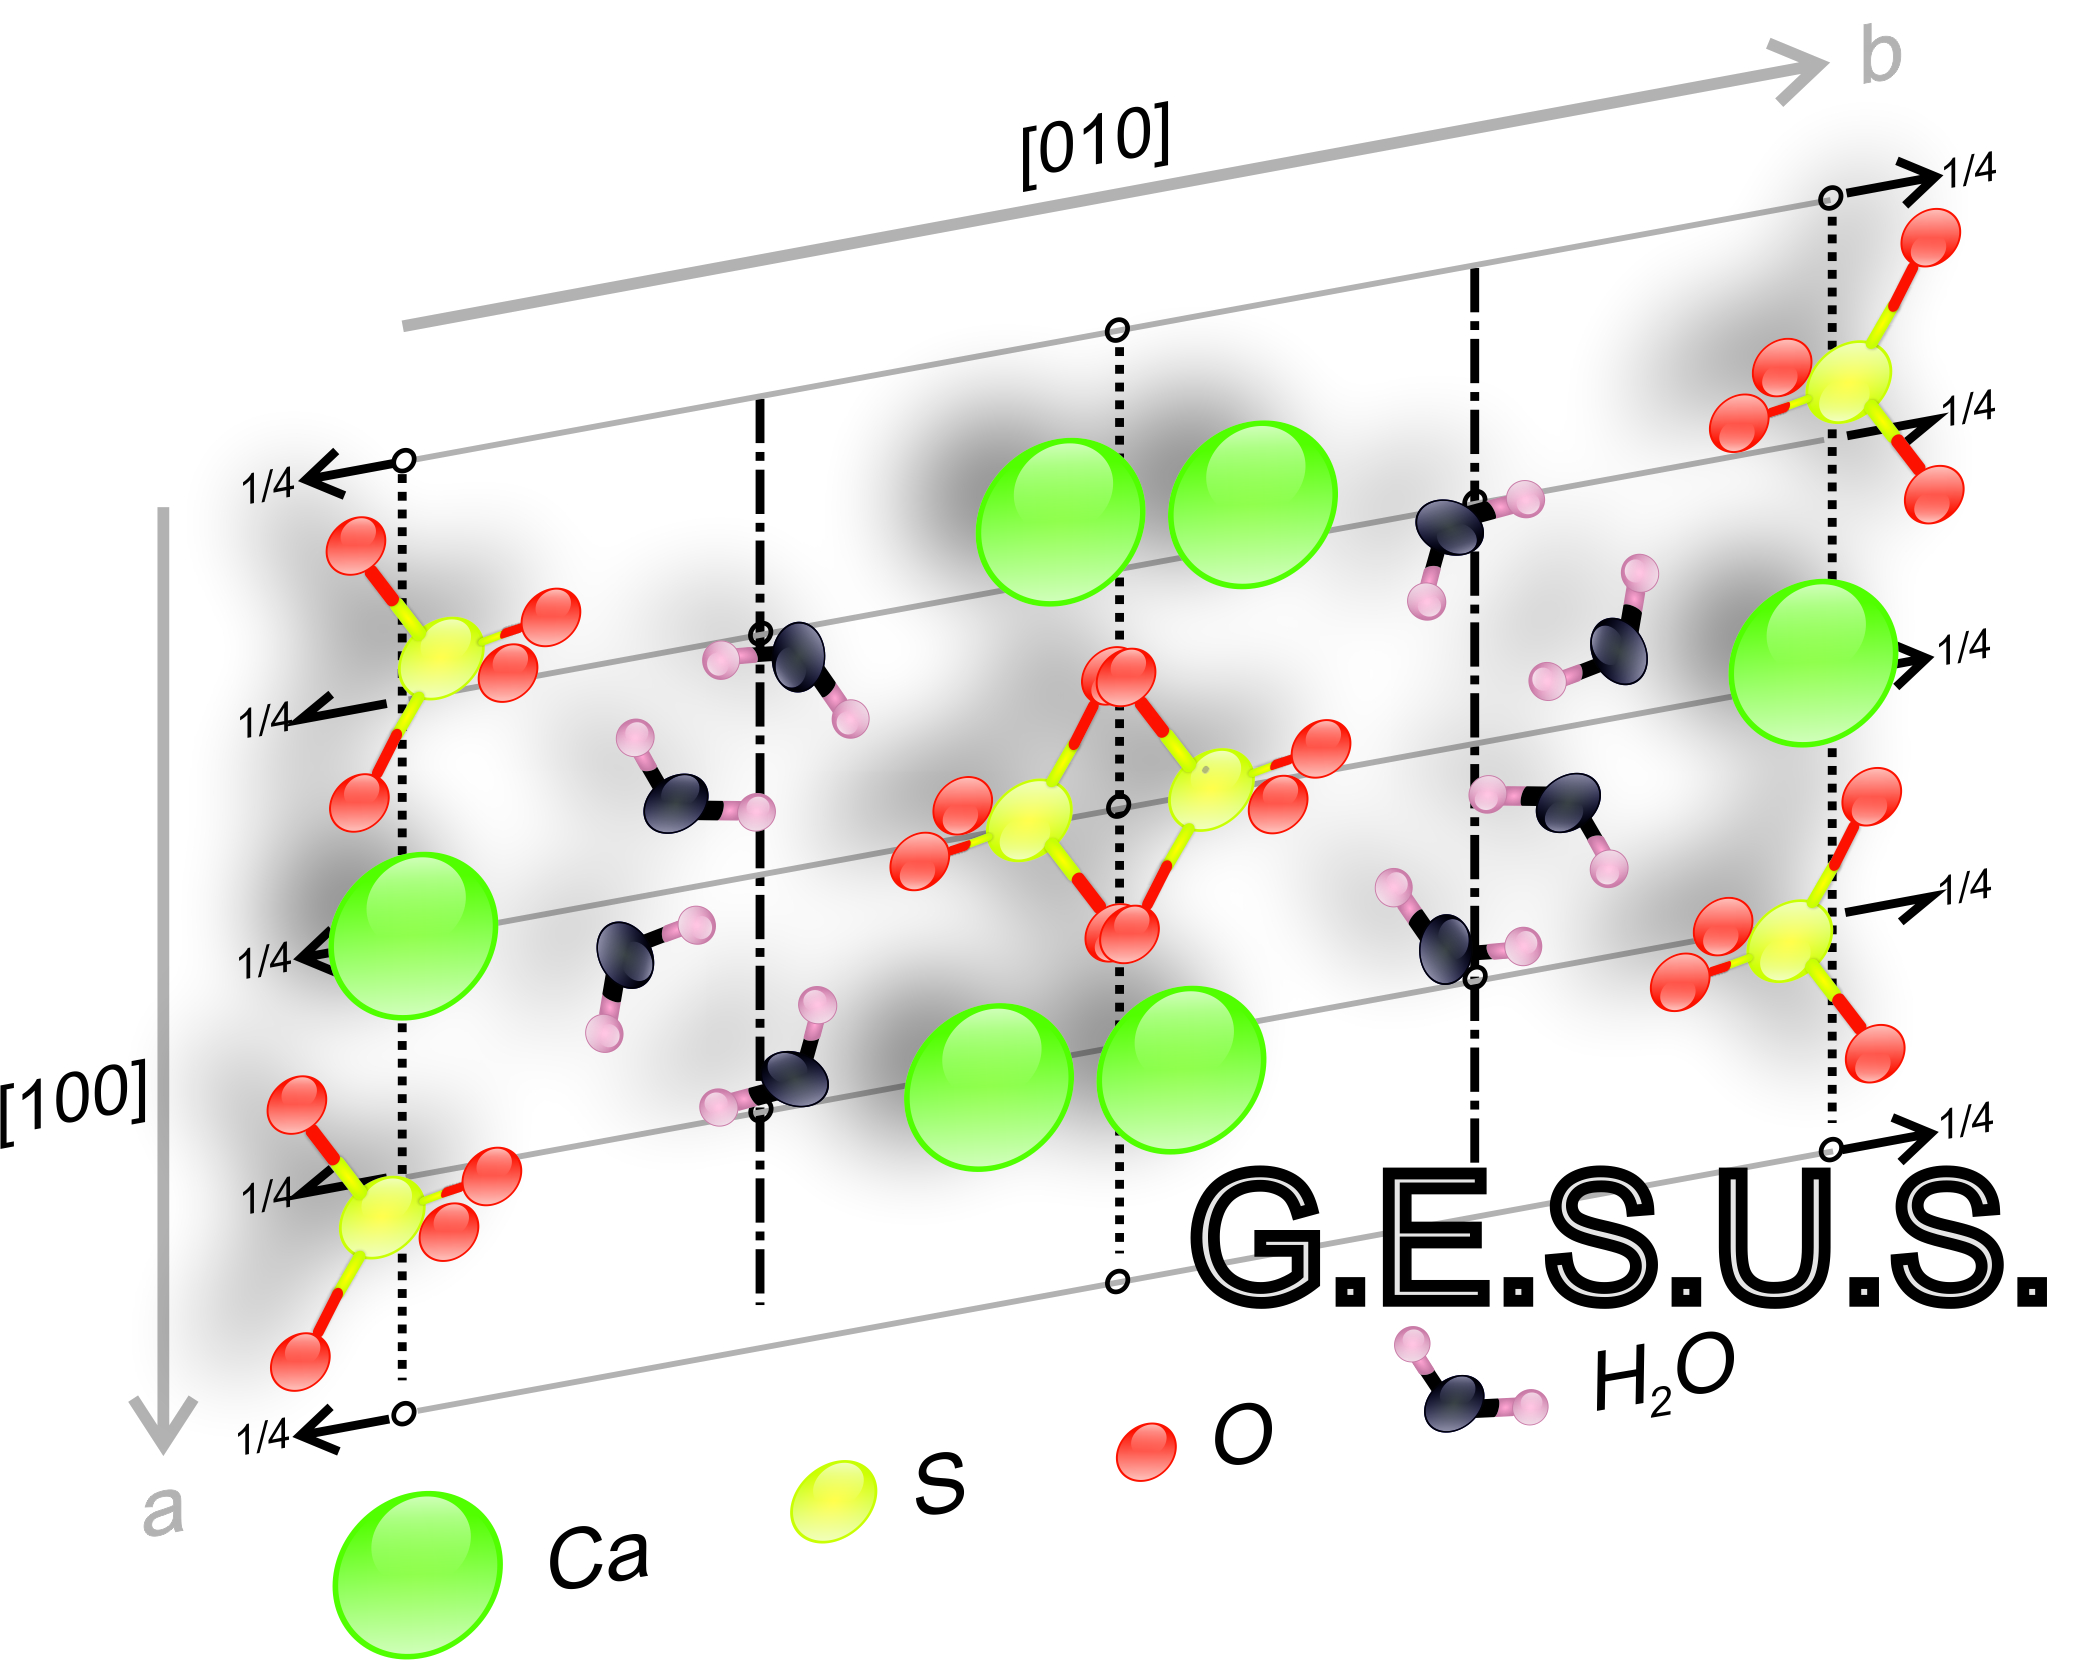
1.- Run the program (GESUS.exe). The main program window appears (the logo disappears in a few seconds)
2.- Press, if desired, the <Language> button in the menu bar to select Spanish or English
3.- Press <File> and <Open> Two options are displayed to select:
3a) Space Group by general position x y, z
3b) Space Group by extended Hermann-Mauguin' name
4.- A window appears where you should search the folder with the list of proposed exercises (Exercises_folder) from which you should select one of them
5.- According to the type of exercise previously chosen in step 3:
5a) The origin preselected in the upper part of the grey area of the main window is shown, as well as the representation of the atoms corresponding to the Space Group chosen in the white drawing window
The atoms are represented in a general arrangement determined by their three-dimensional coordinates x, y, z so that the flat drawing itself represents the coordinates x and y, while the height or depth in 3D is represented by the corresponding z-coordinate (text next to the atom)
The atoms can be represented as circles with white fill ("left" positions), black fill ("right" positions) and semi black-white fill ("left" and "right" positions at different heights)
5b) An gray mesh are displayed in the drawing window and the extended notation of the selected GES on the right side
In both cases, a grey "mesh" is represented as background, which will be used as a template on which the symmetry elements to be drawn will be arranged. The intersections of the lines of this "mesh" constitute "nodes", and there is an "extra node" in the upper left corner of the drawing window (symmetry operators will be represented according to these "nodes")
6.- Select a symmetry element from among the 32 buttons on the left side of the main window. Information (drawing and text) of the current element you have selected will appear at the top of the window
7.- When the cursor is positioned over the drawing window, it becomes a cross and when placed near any "node", if the left mouse button is pressed, it will represent the symmetry element selected in the drawing window
We will have to select all the elements that we think exist in the proposed exercise and place them in their corresponding positions
If an element is tried to be placed in an incompatible position, a window with its corresponding warning appears
You can also select/deselect previously drawn symmetry elements by pressing the <Control> key on the keyboard simultaneously with the left mouse button
If you want to delete a drawn element, select <Control + left mouse button> and then press the key <Supr> on the keyboard
The process of drawing the compatible elements of symmetry with the disposition of the atoms in each group requires previous knowledge of Symmetry Theory (see Crystallographic help and bibliography)
8.- When you have finished the drawing exercise of all the existing symmetry elements:
Case a) press the button <Continue>
In the window that appears in the upper right part, select the crystal system to which the exercise corresponds. In this version, only the Systems Triclinic, Monoclinic in two settings and Orthorhombic are available
Once the System has been selected, another window appears in which you must select the Crystal class or Point Group compatible with the proposed exercise (previous knowledge of Symmetry Theory is required)
Once the compatible Crystal class has been selected, another window appears in which you must select the Space Group of Symmetry that has resulted as a solution to the elements represented in the drawing (previous knowledge of Symmetry Theory is required)
Case b) press the button <Correct>
9.- Press the button <Correct> to obtain the evaluation of the exercise. A window appears indicating the score obtained from the solutions represented
If the score is 10.00 points, the exercise is correct and completed. Press <Accept> to be able to start another new exercise, to save the generated image or to exit <File button>
If the score does not reach 10.00 points, also press the button <Accept>
If you have chosen the wrong System or selected the wrong compatible Crystal class or SGS, a window will appear indicating the corresponding error
Afterwards, another window will appear informing that the erroneous symmetry elements will be marked in red and the position of the missing elements in blue. They are selected, if you press the key <Supr> all will be deleted and you can continue the exercise until its successful completion
If you press the left mouse button, the missing elements will disappear (blue), but the elements that are wrong (red) will remain selected


